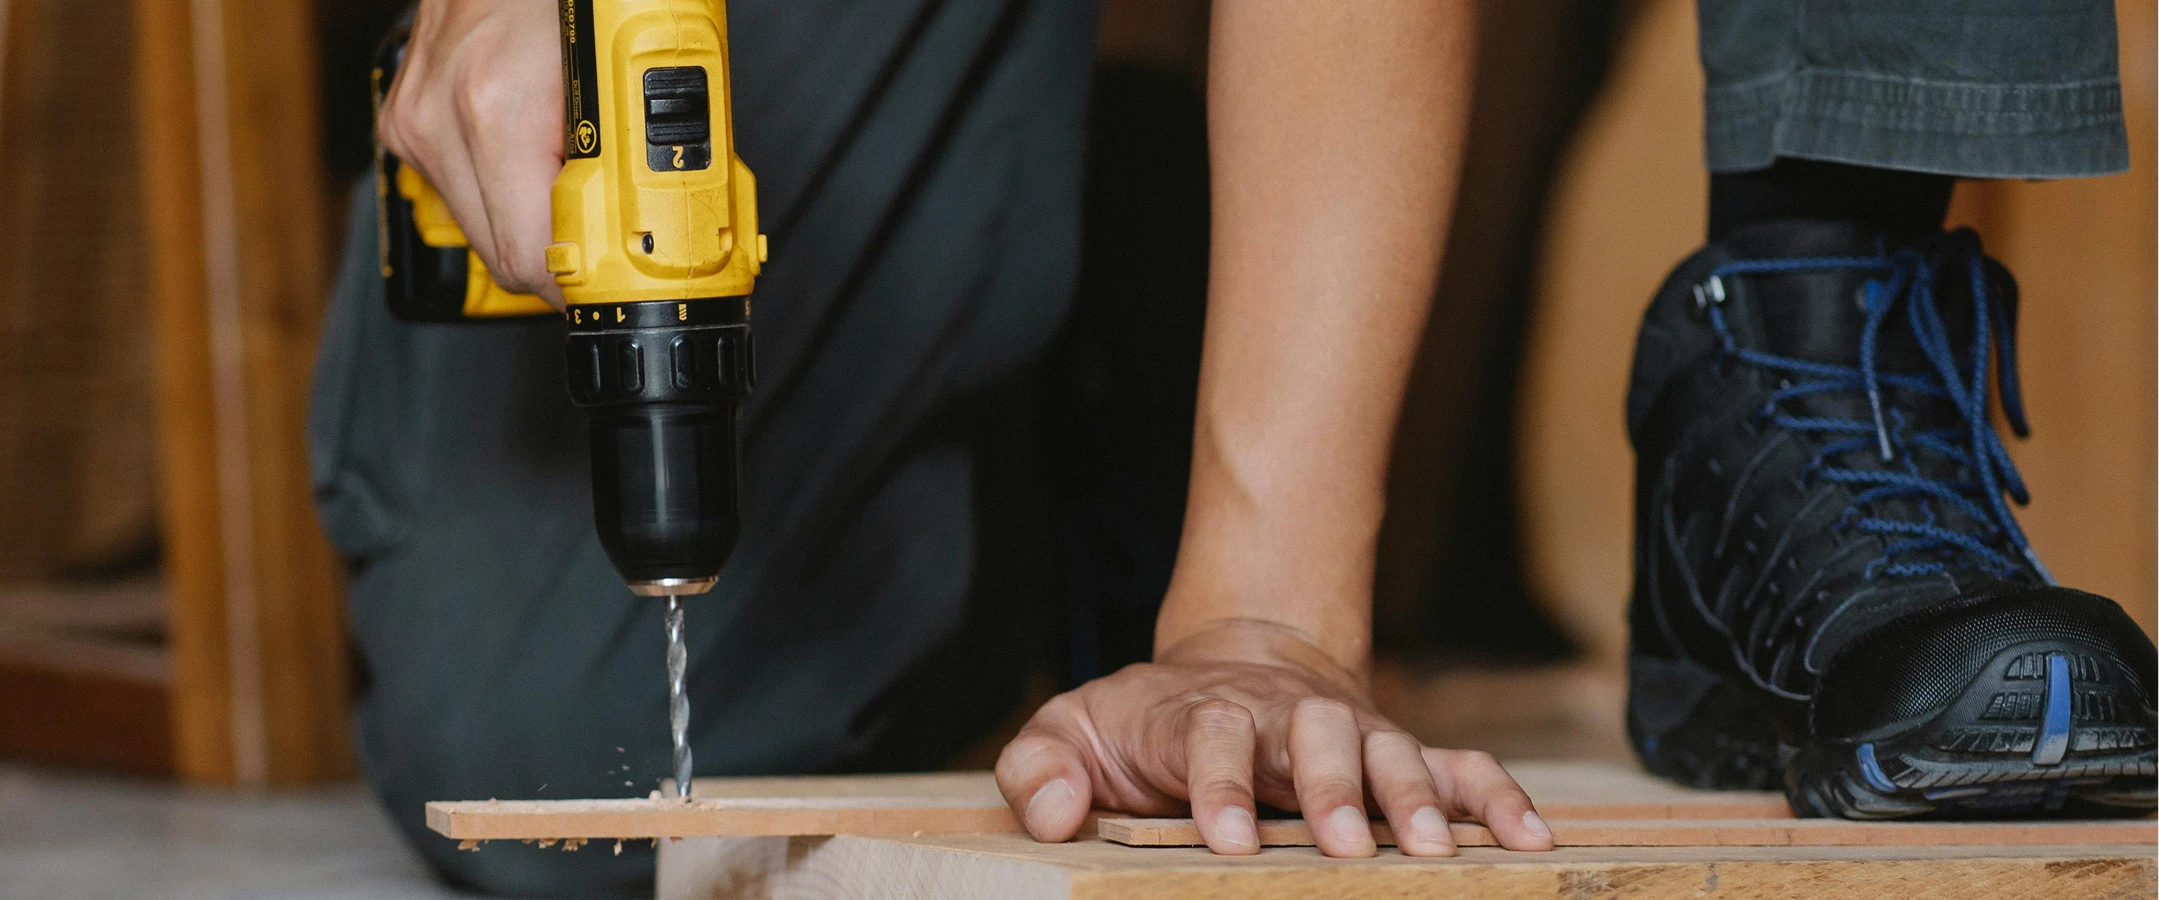
Most repair calls come at the worst possible time: mid-week or mid-business hours with tenants watching.
At Everblue Handy, we take that pressure off. We Specialize in after-hours and weekend commercial repairs so the work gets done quietly, professionally, and without disrupting a single business day.
Commercial Handyman
Services Tailored to Your Schedule
Licensed, bonded, and insured handyman services across Seattle
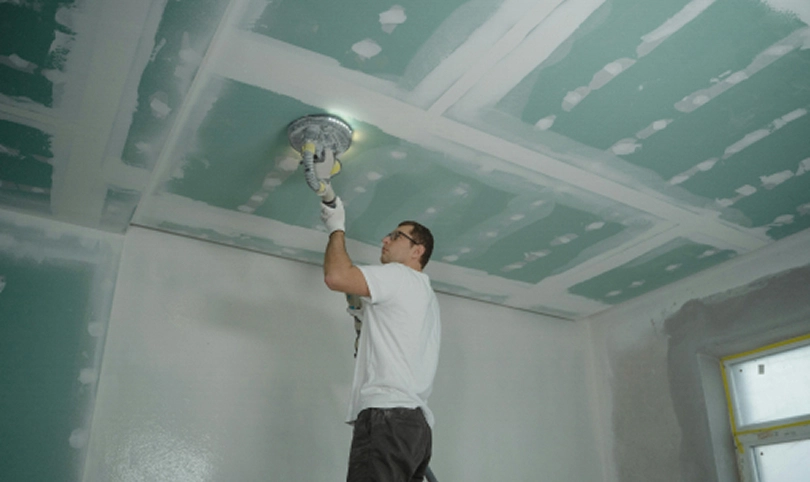
Drywall Repair
Professional patching, repair, and finishing for commercial drywall right from minor scuffs to significant damage.
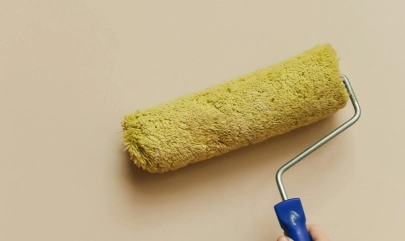
Interior Painting
Commercial-grade interior painting for offices, corridors, and facilities.
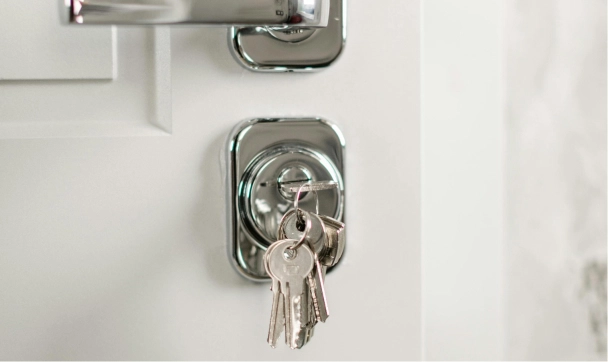
Locksmithing
Licensed commercial locksmith services including lock installation, rekeying, and access control repair, all handled with the security and precision your facility demands.
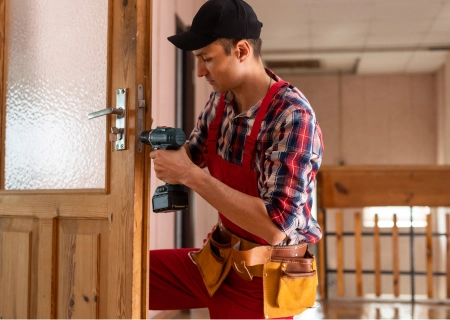
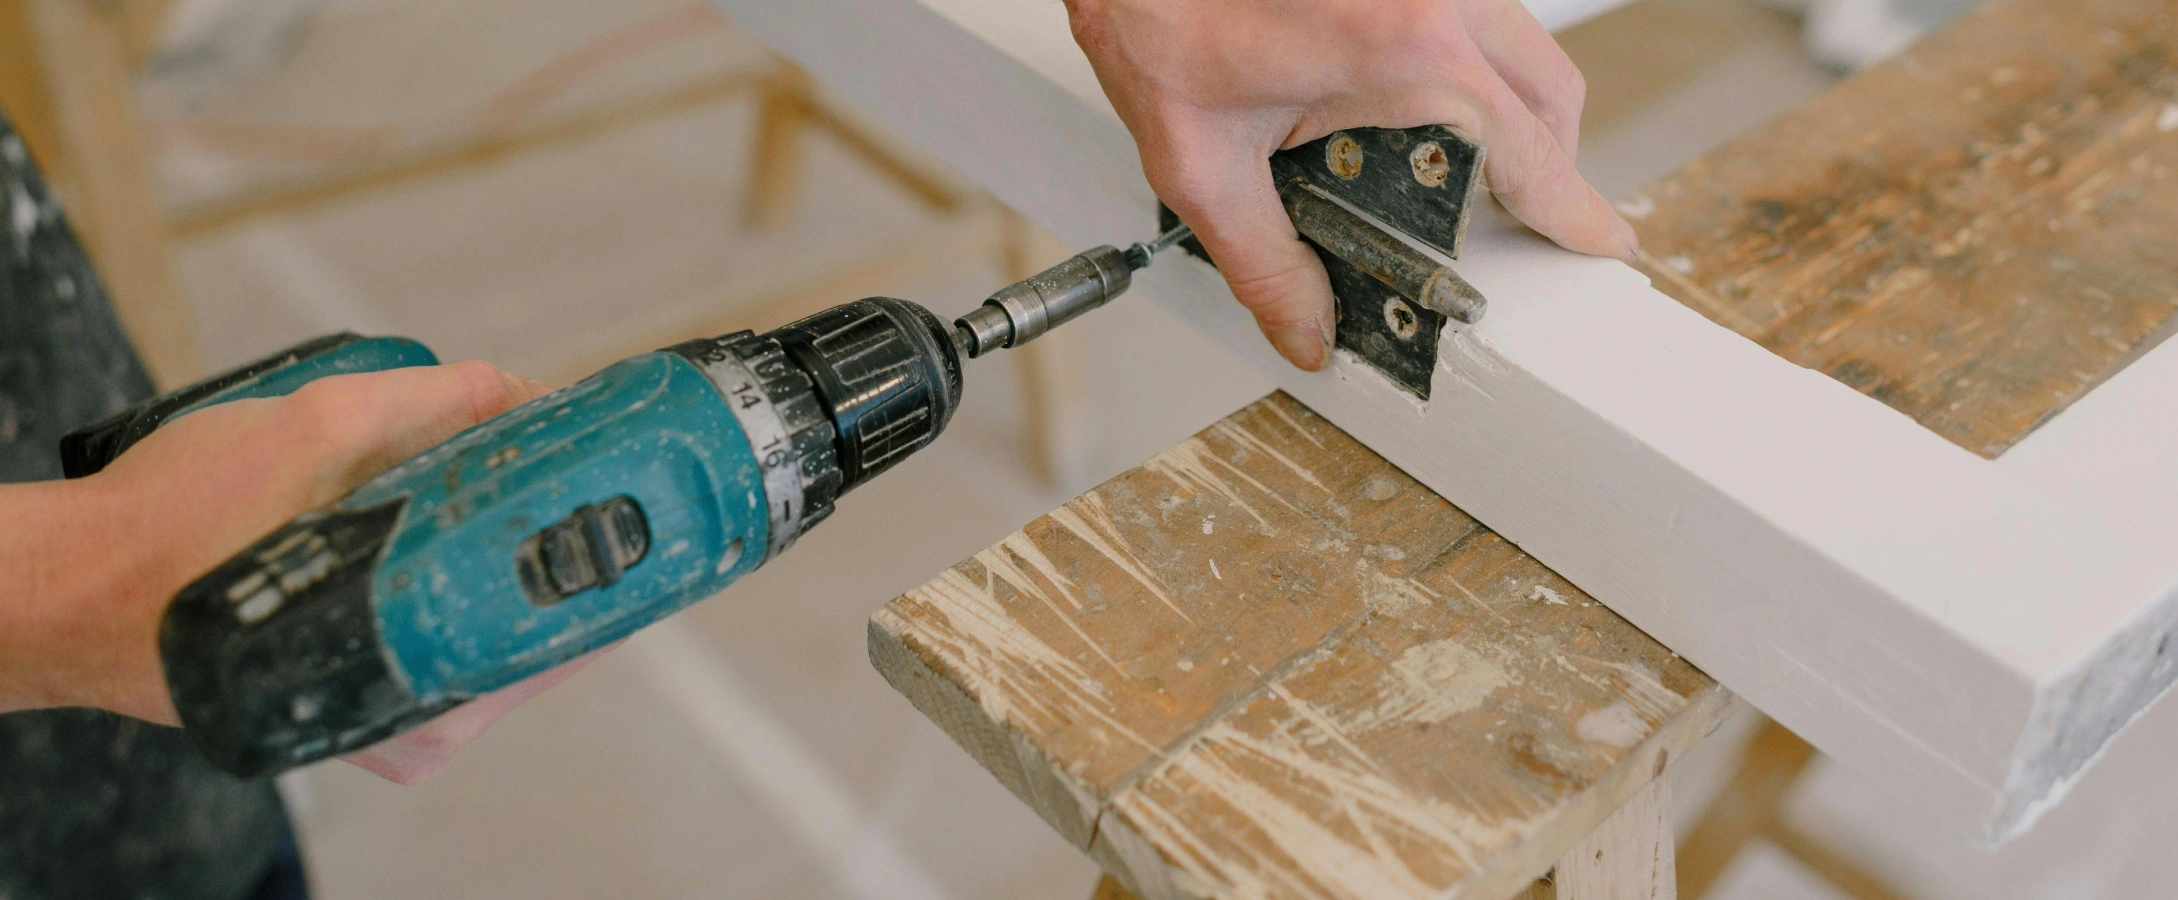
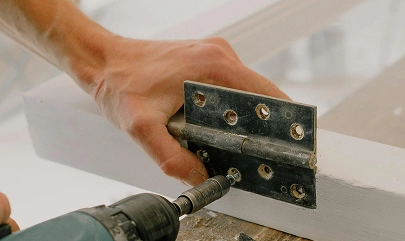
Door Repair
Repair and restoration of commercial doors, frames, and hardware. From alignment issues to full replacements, we keep your entry points functional and secure.
Carpet Installation
Professional commercial carpet supply and installation fitted around your schedule to minimise downtime and keep your workspace looking its best.
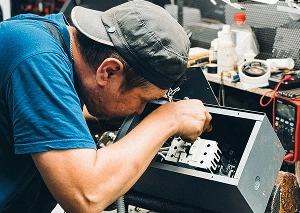
Office Repairs
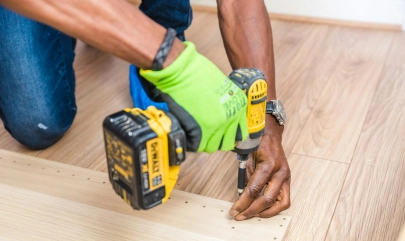
General office maintenance and punch list repairs handled efficiently by our licensed team so your workspace stays functional without the hassle of coordinating multiple vendors.
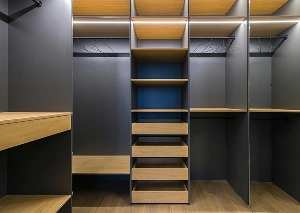
Shelving Installation
Custom shelving and storage solutions designed and installed for commercial environments built to last and fitted to your space.
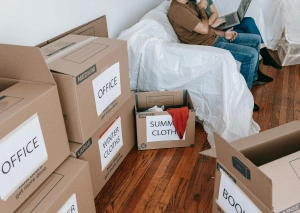
Office Moving
Professional office relocation services are handled with care and efficiency ensuring your furniture, equipment, and fixtures are moved safely without disrupting your operations.
Furniture Assembly & Disassembly
Fast, professional assembly and disassembly of commercial office furniture ideal for fit-outs, relocations, and office reconfigurations.
Junk Removal
Prompt and professional removal of unwanted furniture, debris, and equipment from commercial spaces leaving your facility clean and clutter-free.
Punch List Repairs
End-of-lease, pre-handover, and post-renovation punch list repairs completed thoroughly and on schedule.
The Right Repair At The Wrong Time Can Be Just As Costly As No Repair at All.
Vague estimates and unexplained costs
Disruptive Daytime Repairs
Poor Communication
Ignored weekend emergencies
We Are Proud To Be Partnered With
The Everblue Difference
After-Hours & Weekend Availability
We work outside standard business hours, completing repairs when your space is closed to avoid disrupting daily operations.
Licensed, Bonded & Insured
You’re working with professionals you can trust. Fully licensed, bonded, and insured—so every job is done safely, responsibly, and with accountability.
No Hidden Costs
Clear pricing, upfront. No surprises, no last-minute add-ons—just honest work at transparent rates you can rely on.
One Vendor for Every Repair
From small fixes to larger maintenance needs, you don’t need multiple vendors. We handle it all simple, streamlined, and hassle-free.
8+ Years, 1,000s of Commercial Projects, 1 Consistent Standard
Everblue Handy has been Seattle’s after-hours commercial handyman service since 2018. In that time, we’ve completed thousands of projects without missing a beat. Our clients keep coming back because we make maintenance simple, transparent, and completely hassle free.
Years
0+
Number of technicians
0
Commercial jobs completed
0
Serving Seattle area since
0
Getting Started Is Easier Than You Think.
2.
Site Walkthrough
Our technician visits your facility to assess the full scope of work. We leave nothing to guesswork so every job is scoped accurately from the start.
4.
We Get to Work
Our licensed team gets to work at the agreed time, after-hours or on weekends if needed. We document every stage with images and videos so you always know exactly what was done.
1.
Get in Touch
Book your appointment online and choose a time that suits your schedule. Upload your card securely through our client portal, or reach out by phone, text, or email if you prefer.
3.
Review & Approve Your Estimate
We send a detailed, flat-fee estimate straight to your inbox. Review, approve, and sign digitally.
5.
Invoice & Payment
Once the job is complete, we send your invoice immediately. Payment is charged to your card on file upon completion with no delays, no credit terms and no surprises.
1.
Get in Touch
Book your appointment online and choose a time that suits your schedule. Upload your card securely through our client portal, or reach out by phone, text, or email if you prefer.
2.
Site Walkthrough
Our technician visits your facility to assess the full scope of work. We leave nothing to guesswork so every job is scoped accurately from the start.
3.
Review & Approve Your Estimate
We send a detailed, flat-fee estimate straight to your inbox. Review, approve, and sign digitally.
4.
We Get to Work
Our licensed team gets to work at the agreed time, after-hours or on weekends if needed. We document every stage with images and videos so you always know exactly what was done.
5.
Invoice & Payment
Once the job is complete, we send your invoice immediately. Payment is charged to your card on file upon completion with no delays, no credit terms and no surprises.
More Than a Handyman Service
Serving 17 Cities Across The Puget Sound
With coverage across the entire Puget Sound, we're always close enough to respond when your facility needs attention.
No Tenant Disruption
All work is scheduled around your occupants. Repairs happen quietly and professionally without affecting daily operations.
Simple Digital Process
From estimate approval to digital signature and payment, everything is handled online for a completely hassle-free experience.
Built For The People Who Keep Seattle Running
Property Managers
Managing multiple properties means maintenance never stops. We give property managers a single, reliable partner for all after-hours and weekend repairs whilst keeping tenants happy and buildings in top condition.
Facility & Building Owners
Your facility is your investment. We help commercial building and facility owners protect that investment with professional, licensed handyman services.
Business Owners & Office Managers
When something breaks in your workspace, every hour counts. We work after-hours and on weekends so repairs are completed before your staff and customers arrive.
Locations we serve
Mountlake Terrace
Mukilteo
Everett
Lynnwood
Mill Creek
Kirkland
Edmonds
Redmond
Seattle
Tukwila
Sea Tac
Bellevue
Bothell
Renton
Issaquah
Mercer Island
Shoreline
Mountlake Terrace
Mukilteo
Everett
Lynnwood
Mill Creek
Kirkland
Edmonds
Redmond
Seattle
Tukwila
Sea Tac
Bellevue
Bothell
Renton
Issaquah
Mercer Island
Shoreline
×
Geocoding Error Occured.
Tried to Geocode:
Error Type:
Please be sure to follow the tutorial on how to setup the Google APIs required for the Advanced Google Map Widget.
Residential Services with the Same Professional Standard
Edmonds
Lynnwood
Mountlake Terrace
Mill Creek
Bothell
Mukilteo
Shoreline
Lake City
Everblue Handy's residential services bring commercial-grade professionalism to your home. Licensed, bonded, and insured - the same team trusted by Seattle's top property managers is available for your home repairs too.
Lock installation & rekeying
Door repairs & replacements
Drywall patching & repair
Interior and exterior painting
Flooring repairs
Carpentry & trim work
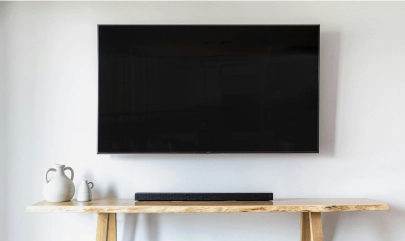
TV & shelf mounting
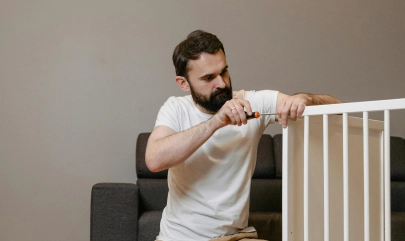
Furniture assembly
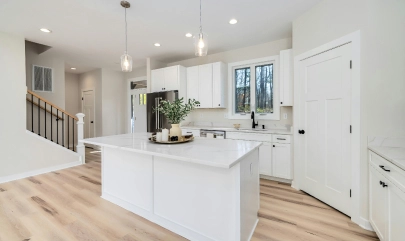
Kitchen/bathroom upgrades
Fence and deck repairs
Gutter cleaning
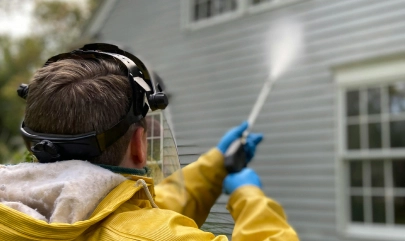
Pressure washing
Weatherproofing/sealing
Caulking and grouting
What Our Clients Say
We are always ready
to help you and
answer your
questions